

AstroShield II R-6 HVAC Reflective Duct Insulation

Safe and energy-efficient R-6 HVAC Reflective Duct Insulation
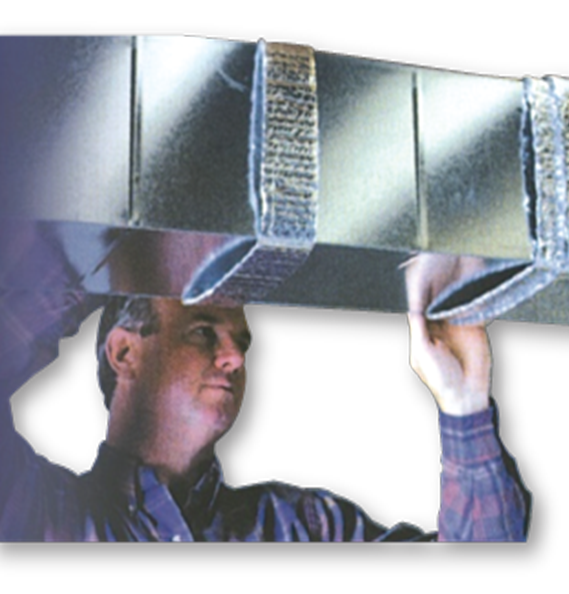
AstroShield II consists of two layers of air-encapsulated polyethylene bubbles separated by a reflective surface, sandwiched between two outer reflective surfaces. When wrapped around the exterior of HVAC ducts, AstroShield II enhances thermal performance by reflecting as much as 95% of radiant heat.

- Can yield a thermal resistance of R-6 around HVAC ducts installed with spacers*
- Minimizes the risk of condensation
- Resists growth of fungi, mold, and mildew
- Greatly reduces operating noise transfer
- Safe and easy to install, no special tools required
- Non-toxic itch and fiber free
- Improves interior comfort
-
Install Spacer
- Attach the adhesive side to the duct for a few inches, then back roll with adhesive side facing outward.
- Continue wrapping over the first to achieve maximum R-values.
- Install each spacer 24" to 36" apart. 2" strips of AstroShield II can be used for spacers to achieve desired R-values.
- Begin wrapping astroduct around the duct starting at the midway point of the right side of the duct. Proceed counter clockwise.
- Once at the starting point, extend astroduct to create a second layer along the top of the duct. Extend this second layer to the midway point of the left side of the duct.
- Tape all seams and butt-joints using a UL 181 reflective tape for the entire length of the duct until its surface is fully enclosed.
Product Sizes DIS 12: 12"x1'-0" DIS 3: 3"x1'-0"
Between Joint Insulation
| Product | Size |
|---|---|
| ASTROSHIELD II 2x25: | 2"x25' |
| ASTROSHIELD II 4x25: | 4"x25' |
| ASTROSHIELD II 6x72: | 6"x25' |
| ASTROSHIELD II 9x50: | 9"x50' |
| ASTROSHIELD II 9x125: | 9x125' |
| ASTROSHIELD II 12x25: | 12"x25' |
Reflective R-6 Duct Insulation
| Product | Size |
|---|---|
| ASTROSHIELD II HVACDUCT 12x50: | 12"x50' |
| ASTROSHIELD II HVACDUCT 24x50: | 24"x50' |
| ASTROSHIELD II HVACDUCT 36x50: | 36"x50' |
| ASTROSHIELD II HVACDUCT 48x50: | 48"x50' |
| ASTROSHIELD II HVACDUCT 48x100: | 48"x100' |
| ASTROSHIELD II HVACDUCT 48x125: | 48"x125' |
| ASTROSHIELD II HVACDUCT 60x100: | 60"x100' |
| ASTROSHIELD II HVACDUCT 48x50 Outdoor: | 48"x50' |
|
Physical Property: |
Test Method |
Result |
|---|---|---|
| Nominal Thickness: | 5/16" | |
| Thermal Resistance: | ASTM C335 | R-6* |
| Reflectivity: | ASTM C1371 | 95% |
| Emissivity: | ASTM C1371 | 5% |
| Fire Rating: | ASTM E84-08 | 1-A |
| Water Vapor Transmission: | ASTM E96 | <0.2 perms |
| Temp/Humidity/Resistance:: | ASTM C1258 | Pass |
| Bleeding and Delamination: | ASTM C1224 | None |
| Pilability/Cracking or Delamination: | No Cracking or Delamination |
*When installed with 1/2" spaces
Duct Insulation with Spacers
- Position spacers along the corners of the duct. The additional airspace will increase resistance to heat loss or gain. Spacers are available from Innovative Energy.
- Begin wrapping astroduct around the duct starting at the midway point of the right side of the duct. Proceed counter clockwise.
- Once at the starting point, extend astroduct to create a second layer along the top of the duct. Extend this second layer to the midway point of the left side of the duct.
- Tape all seams and butt-joints using a metalized tape. Repeat the above steps for the entire length of the duct, until its surface is fully enclosed.
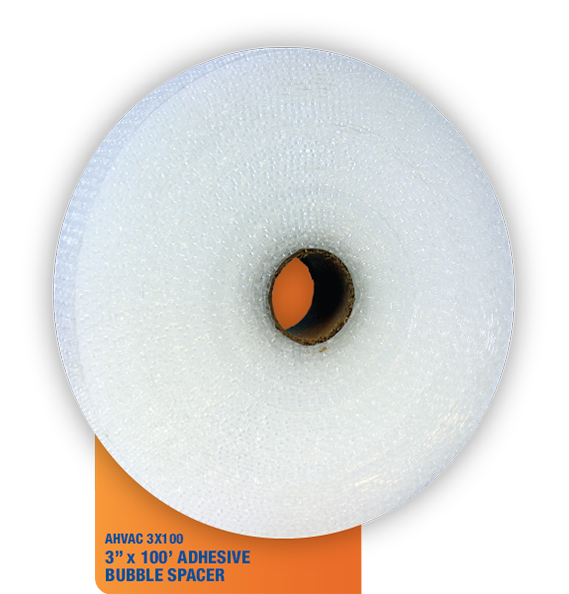
Installing 2"x100' Bubble Spacer Roll
- Attach the adhesive side to the duct for a few inches, then back roll with adhesive side facing outward.
- Make a second wrap over the first to achieve maximum R-values.
- Install each spacer 24" to 36" apart. 2" strips of AstroShield II can be used for spacers to achieve desired R-values.
- Begin wrapping astroduct around the duct starting at the midway point of the right side of the duct. Proceed counter clockwise.
- Once at the starting point, extend astroduct to create a second layer along the top of the duct. Extend this second layer to the midway point of the left side of the duct.
- Tape all seams and butt-joints using a UL 181 reflective tape for the entire length of the duct until its surface is fully enclosed.